Emergencies happen. That’s why it’s always best to be prepared. Remember those “In the event of an emergency; break glass” signs that lead to a fire extinguisher? It’s similar to that. You don’t expect (nor do you want) a fire, but if it happens, you should be ready. Being proactive saves valuable time, resources, and most importantly, can save lives.
ZipBridge offers emergency communication services for businesses across the US, and getting started with ZipBridge is easy! Here is a step-by-step walkthrough to guide you through the process of setting up a free trial for yourself:
Step 1 – Signup
Upon visiting www.zipbridge.net, you will see a Signup button on the top right of the page (See below image.) If you already have an account with us, click the ‘Login’ button to the left of the ‘Signup’ button.

-After clicking ‘Signup,’ you will be directed to a quick and secure form to fill out, located here.
-On this form, you will be asked to provide your phone number and set up your username.
-To start the Free Trial, keep the ‘Responder’ plan checked off. To sign up for the premier services you can select the Communicator or Big Talker options.
-Click ‘Submit’ to use the Responder Plan for free for 30 days or until you exceed the free minutes. (Don’t worry we won’t interrupt your service).
-Once your free trial has expired, you have the option to sign up for any one of our 3 plans. There is no obligation.
-After Submitting the form, you will receive an email with Login Credentials (your chosen username and a temporary password).
Step 2 – Accessing ZipBridge From Your Cell Phone
-Open your cell phone’s internet browser and go to “https://zipbridge.net/login”
*** ZipBridge Tip: Once the Login page is loaded, click the ‘Share’ button on the internet browser app and select the “Add To Home Screen” icon to have the login page become an icon that sits on our cell phone like an app.
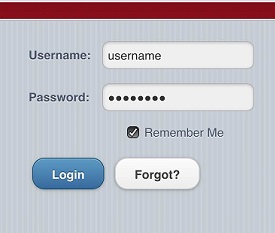
Enter your username and password and click “Login”. Click off the “Remember Me” option to avoid having to retype the password every time.
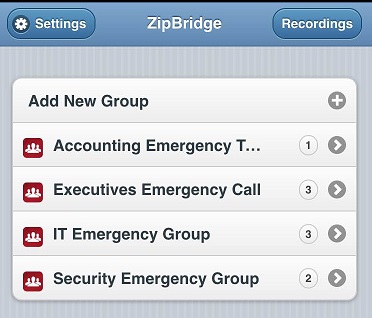
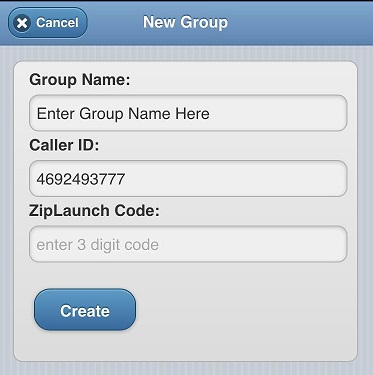
Now you should see the home screen that displays your ZipBridge Groups (pictured above). Click ‘Add New Group’ to start a new group and then you can add members from that screen (pictured below.)
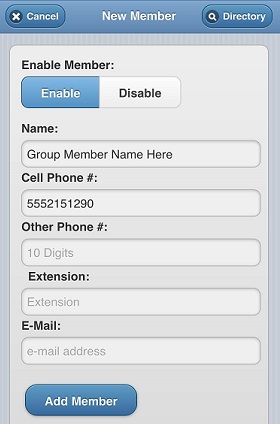
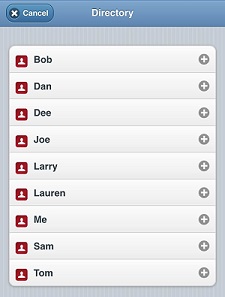
As you can see in our example, you can set up multiple groups that include different people based on what kind of emergency call is needed. To view a complete directory of your ZipBridge connections, click the ‘Directory’ button which is located on the top right of the New Member page.
If you have any questions or would like assistance setting up your account, you can email us 24/7 at info@zipbridge.com. To view our Frequently Asked Questions page, click HERE. Our emergency bridge lines’ platform is quick and easy to use. If you would like to speak to a representative about our emergency communication solutions, call us today at 469-249-3770.